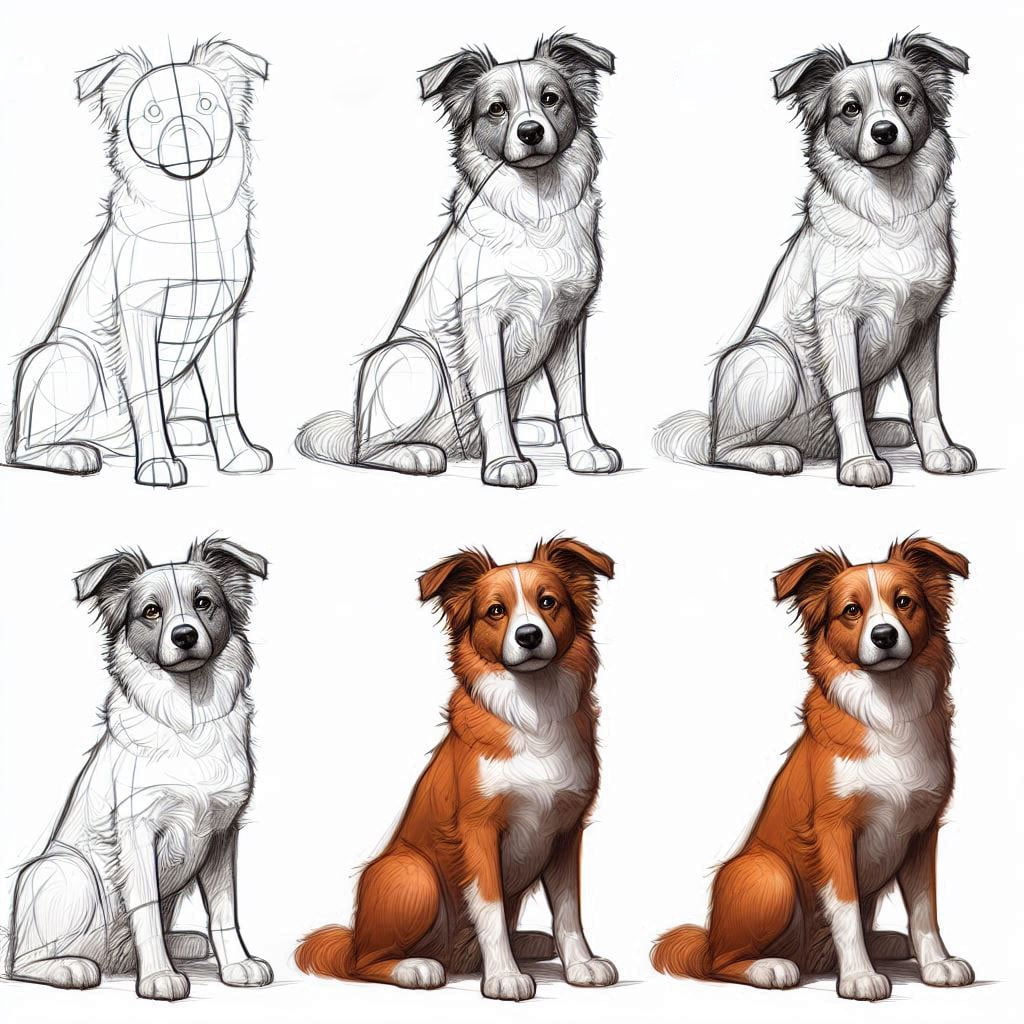
If you know how to draw a dog can be an enjoyable and rewarding experience. It requires patience, practice, and some basic understanding of dog anatomy and structure. This essay serves as a step-by-step guide on how to draw a dog easily, breaking down the process into manageable segments that anyone can follow, no matter their skill level.
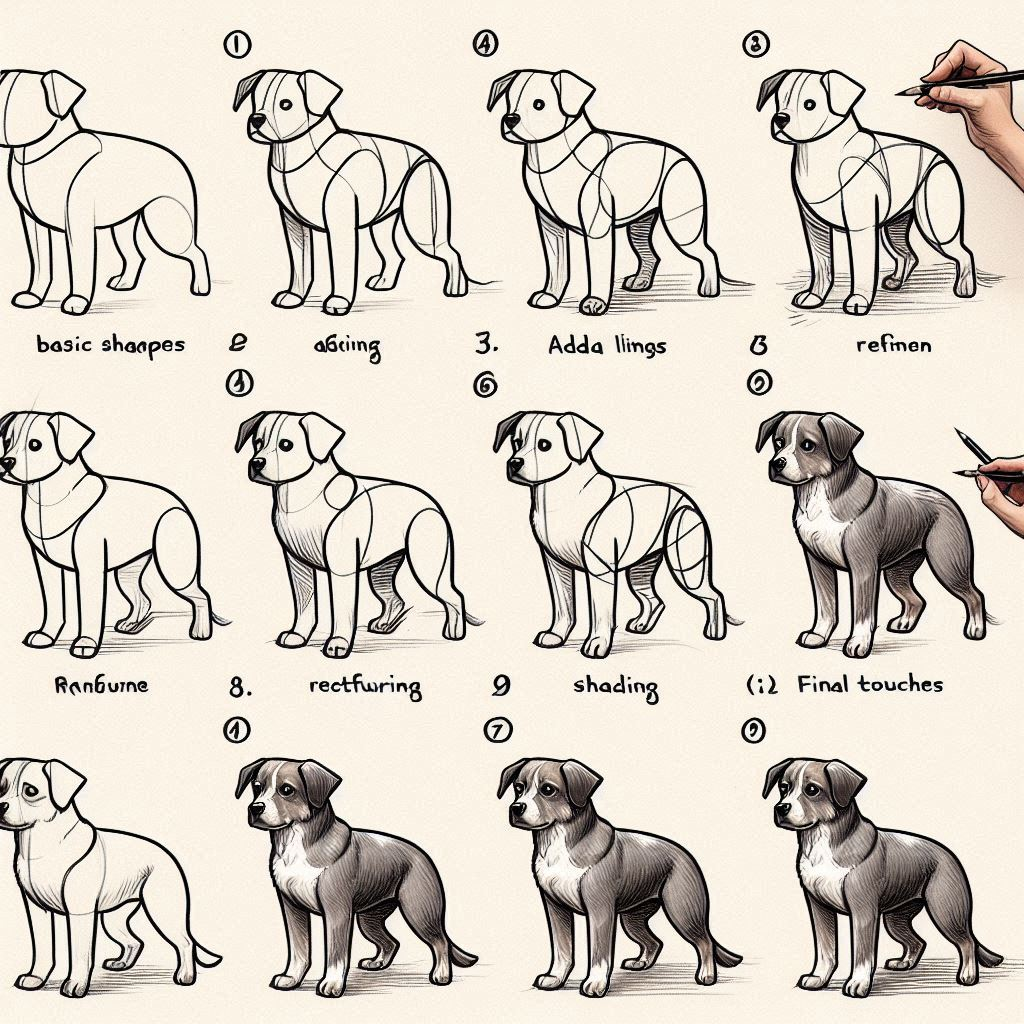
How to draw a dog easy
Before putting pencil to paper, it is essential to have a basic understanding of dog anatomy. Dogs, like all mammals, have a structured skeletal and muscle system that dictates their external appearance. Familiarizing oneself with the general shapes and proportions of a dog’s body, head, legs, and tail can be incredibly helpful. Spend some time observing dogs, either in real life or through images, noting the different forms and shapes.
Materials Needed
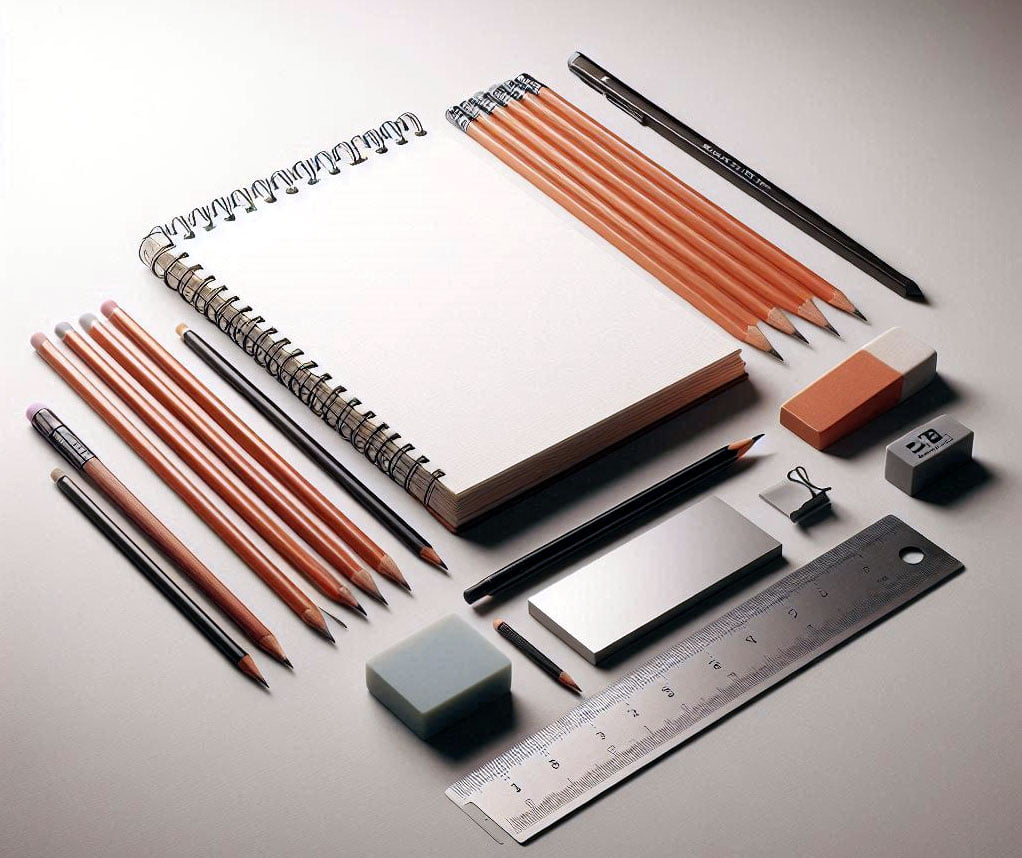
For this exercise, you will need:
- A sketchbook or a piece of drawing paper
- A few pencils, preferably of different grades from HB (medium) to 2B (soft)
- An eraser
- A ruler (optional)
Step 1: Basic Shapes
Start by sketching basic shapes that represent the dog’s body. Draw a large oval or a bean shape for the body. Next, draw a smaller circle for the head, positioning it towards the upper part of the oval. Ensure that these shapes are proportional, bearing in mind the breed or type of dog you are aiming to draw.
Step 2: Connecting Shapes
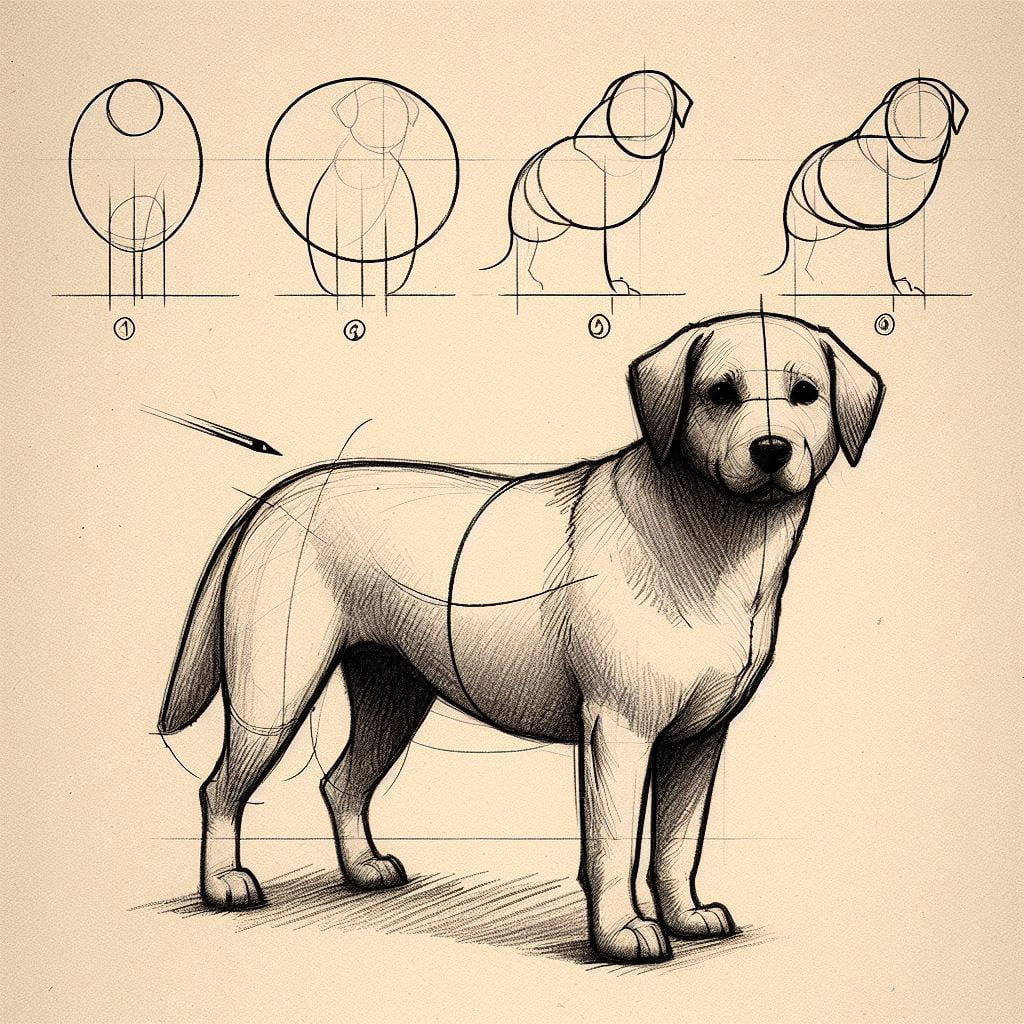
Now, connect the head with the body using two curved lines for the neck. Sketch another smaller oval on the lower half of the body for the hindquarters. Draw a line from the head to the hindquarters to outline the backbone. You should now have a basic framework that resembles the structure of a dog.
Step 3: Adding Limbs
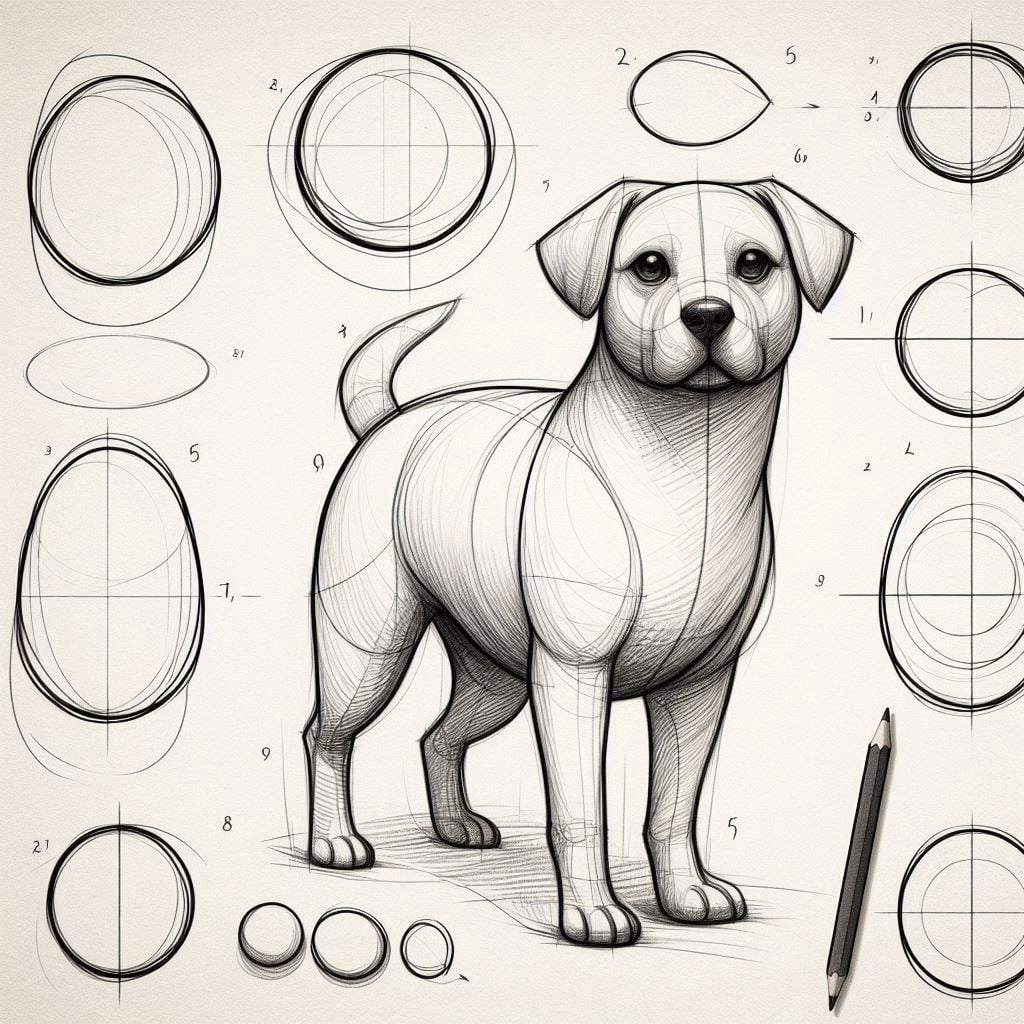
Begin to add the legs by drawing cylindrical shapes. For the front legs, draw two cylinders extending from the bottom of the neck, and for the hind legs, draw two cylinders extending from the hindquarters. When drawing the legs, pay careful attention to the joints, ensuring they bend naturally. The front legs should be straight, while the hind legs should have a visible curve to reflect the bending at the knee.
Step 4: Sketching the Head and Ears
Refine the shape of the head by adding the muzzle. Draw a smaller circle at the lower part of the head circle and connect it with the head circle using curved lines. Add two triangular shapes on each side of the head for the ears. Depending on the breed, the ears can be upright, floppy, or somewhere in between.
Step 5: Tail and Paws
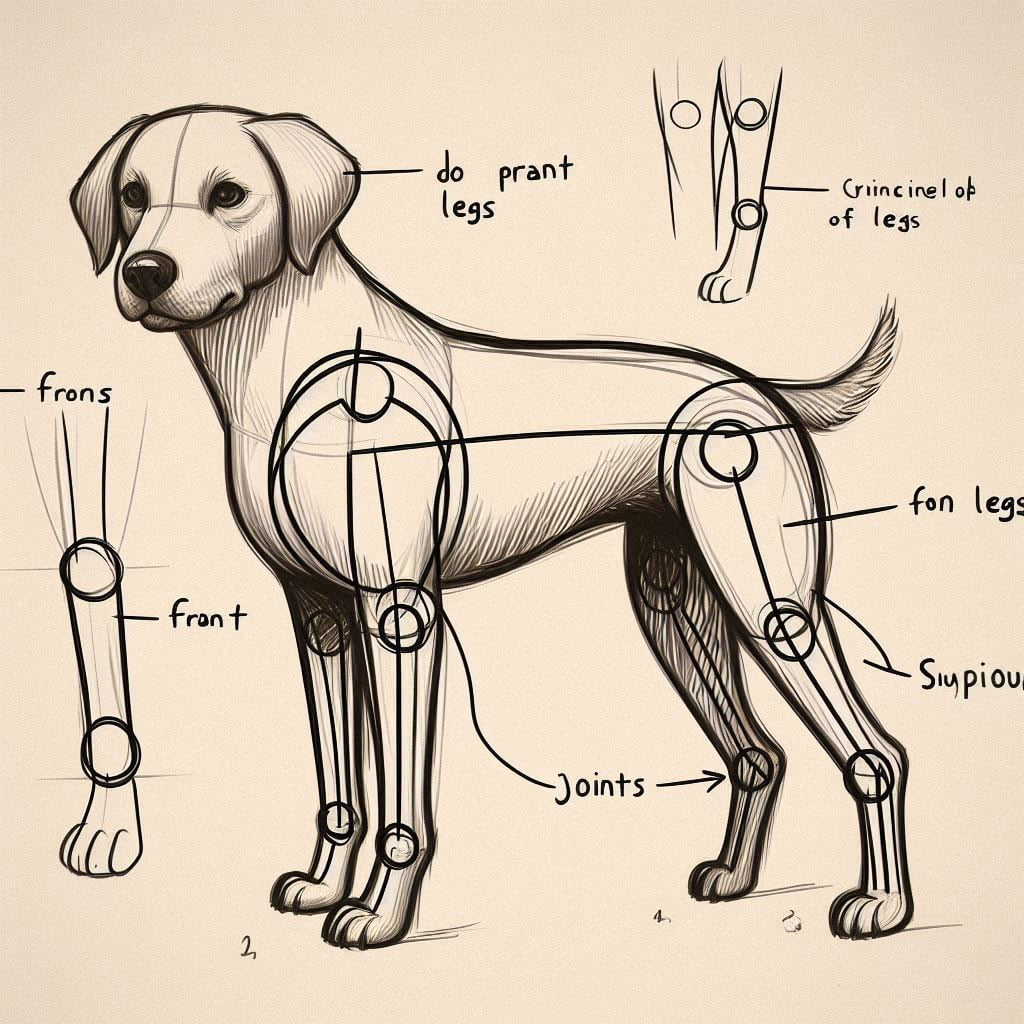
Sketch the tail starting from the hindquarters. The shape and length of the tail can vary greatly; it could be long and bushy or short and curly. When drawing the paws, note that a dog’s front paws are larger than its back paws. Each paw should have three to four ‘toes’ which are small oval shapes.
Unveiling the Most Popular Dog Breeds
Step 6: Adding Facial Features
Focus on detailing the head by adding the dog’s eyes, nose, and mouth. The eyes should be almond-shaped and positioned symmetrically on either side of the muzzle. Draw a small oval for the nose at the tip of the muzzle and sketch a curved line for the mouth below the nose.
Step 7: Defining Features
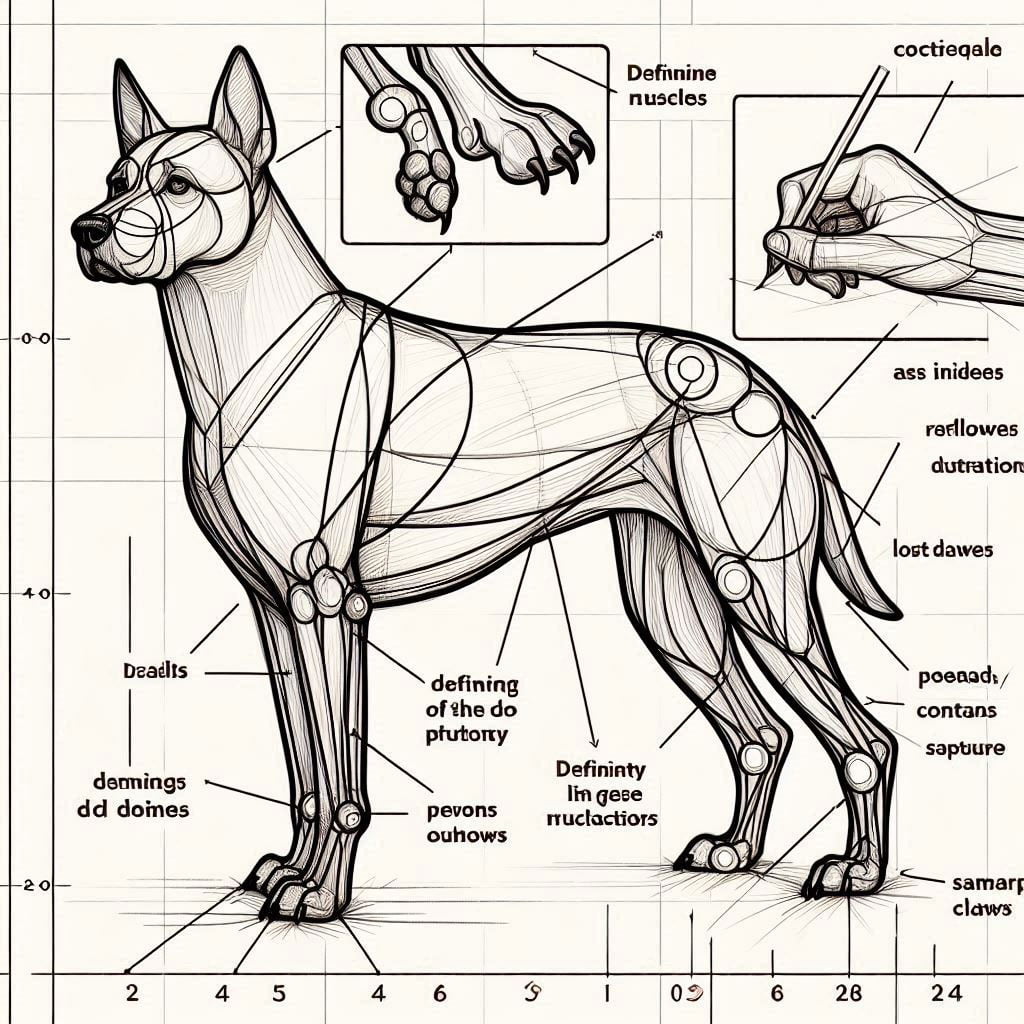
Return to the body and add more definition to the limbs, muscles, and joints. Refine the outlines of the body, legs, and tail. Add the claws to the paws by drawing small, sharp lines at the tips of each toe.
Step 8: Fur Texture
Give your dog some texture by adding fur. Use short, quick strokes to create the illusion of fur throughout the body. Focus on the areas where fur tends to be more apparent, such as the neck, chest, and tail. The direction of your strokes should follow the contour of the dog’s body to create a realistic appearance.
Step 9: Shading and Final Touches
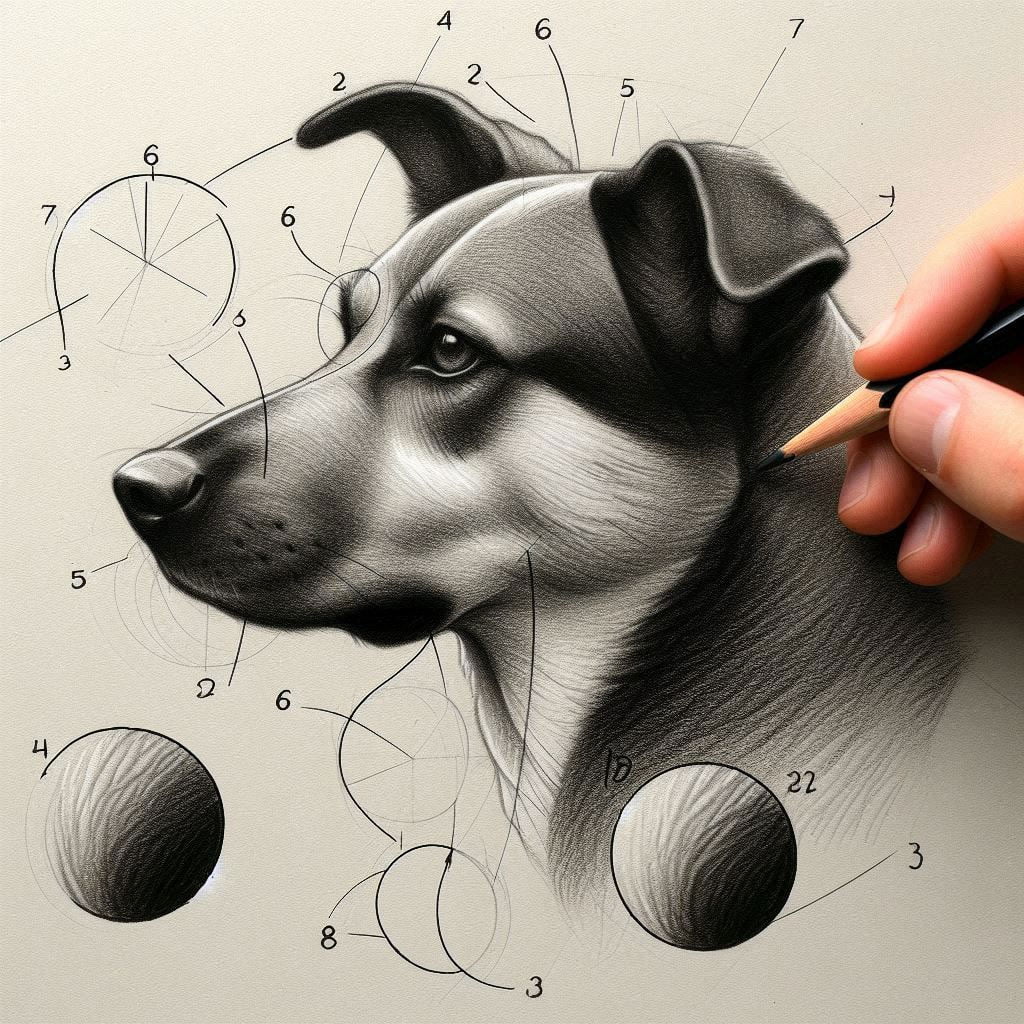
Once the basic structure and texture are in place, add shading to give your drawing a three-dimensional look. Identify the light source in your drawing and shade the opposite side of the lighted areas. Use a softer pencil, such as a 2B, to achieve deeper shading. Pay attention to areas that tend to be darker, like under the neck, within the ears, and the inner parts of the legs.
Conclusion
How to draw a dog step-by-step involves breaking down the process into simple shapes and gradually refining each component. By understanding basic dog anatomy, observing proportions, and adding details methodically, anyone can create a detailed and realistic dog drawing. Practice is essential, and as you become more familiar with the structure and features of dogs, your ability to capture their likeness will improve. Remember to enjoy the process and take your time with each step. Happy drawing!
FAQs
1. Can I draw a dog without understanding anatomy?
While it’s possible, understanding basic dog anatomy will significantly improve your drawing’s accuracy and realism.
2. How can I make my dog drawing more realistic?
Focus on proportions, add detailed facial features, and use shading to create depth. Don’t forget to add texture to the fur!
3. What if my drawing doesn’t look like the dog I intended?
Practice is key! Start with simple shapes and gradually refine your drawing. Over time, your skills will improve, and your drawings will become more accurate.
4. Do I need expensive materials to draw a dog?
Not at all! A simple sketchbook, pencils, and an eraser are all you need to get started.

